Woodturning Gouge Geometry, Explained Simply
Grind, bevel and presentation are a system. Change one and the feel of the cut changes with it.
The edge is a shape
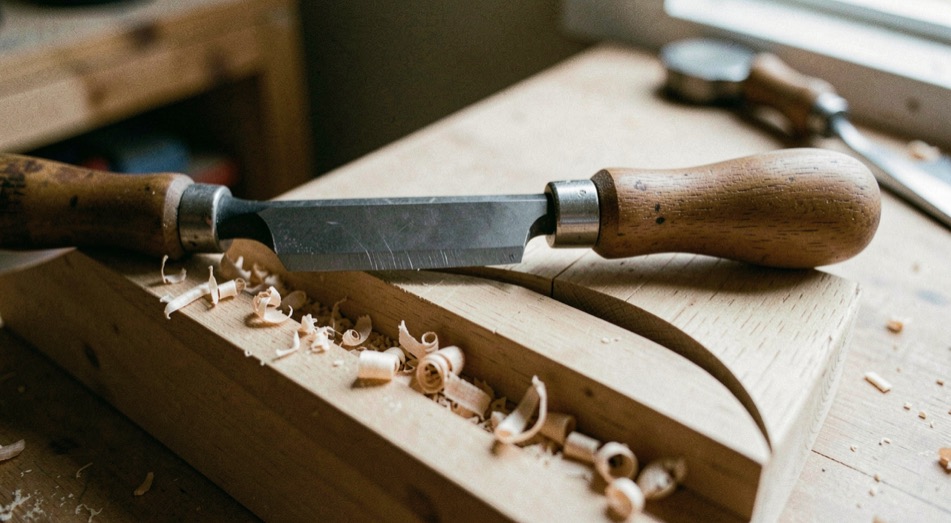
A bowl gouge is not defined only by its name. The flute profile, bevel length and wing shape create a cutting edge with a particular range of comfortable presentations. A swept-back wing can open a curve, while a more conservative grind can feel predictable during early practice.
Match geometry to the cut
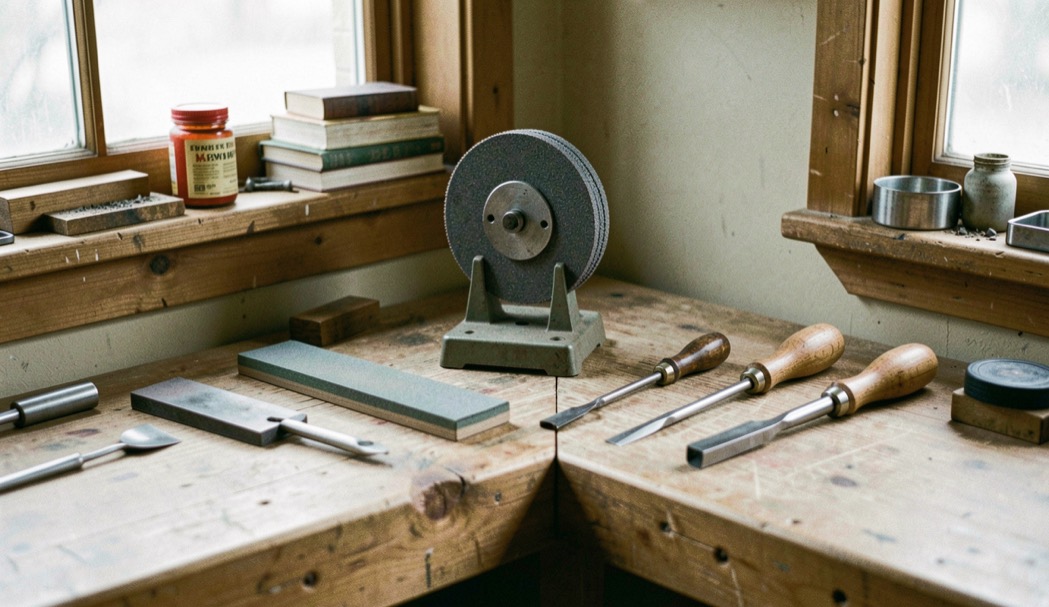
Use a gentle, supported presentation when learning a new profile. Keep the tool rest close, bring the bevel to the wood, and let the edge do the work. The sharpening workflow is more valuable than memorizing a single angle because consistency is what lets you compare results.
Read the surface
A clean ribbon and a quiet surface are useful evidence. If the cut bruises or chatters, first ask whether the bevel is supported and whether the tool is presented with enough room. The practice routine gives you a low-stakes place to make that observation.
Flute, bevel and wing together
The flute shape directs the edge, the bevel supports the cut, and the wing determines how confidently the tool can enter a curve. A swept-back bowl gouge can reach across a hemisphere, but its exposed wing also punishes a hurried presentation. A straighter grind may feel less dramatic and offer a clearer lesson on bevel support. Compare profiles by making the same outside bowl cut in a forgiving blank. Do not treat a measured angle as a guarantee: steel thickness, sharpening method, flute depth and the turner’s stance alter the result. A bevel angle chart for each turning tool gives a sensible starting number and explains why published figures differ.
A controlled geometry exercise
Mark the edge with a permanent marker, sharpen with a repeatable platform and make one pass on a cylinder before attempting a bowl interior. Keep the rest close, rotate the handle so the bevel remains supported, and move the body along the cut. If the marker disappears unevenly, the grind or contact is inconsistent. If the edge catches, stop the machine, inspect the presentation and remove less material next time. A catch is information, not a test of courage. Face protection and a clear line of retreat remain essential while learning any new grind.
Know when geometry is not the cause
Tearout can come from reversed grain, dull steel, excessive projection, poor support or a speed chosen for a different diameter. Chatter can come from a thin blank, a flexible rest or an interrupted cut. Change one variable at a time and keep a note of the surface. For example, if a swept wing cleans one side of a cherry bowl but bruises the other, compare grain direction and presentation before regrinding the tool. Geometry should solve a repeatable problem, not become a substitute for diagnosis.
Change one variable
When comparing grinds, keep the wood, diameter, tool rest height and intended cut constant. Make a short test, stop the lathe and write what the edge did. A more swept wing may improve access to a bowl curve but make a new turner less secure at the wing; a longer bevel may feel supported yet remove room in a tight transition. These are tradeoffs, not universal rankings. The safest geometry is the profile the operator can present consistently, see clearly and withdraw without forcing the steel when the grain changes.
Precise safety and material claims are grounded in the editorial methodology; workshop guidance is identified as practical synthesis.